PowerShell is a powerful tool when you need to manage and automate Office 365 features ranging from managing users, licenses, security groups, SharePoint Online, Exchange Online, etc.
What do you need to start with?
-
Microsoft Online Services Sign-In Assistant
-
Windows Azure Active Directory PowerShell Module
-
And off course an Office 365 account
Microsoft Online Services Sign-In Assistant
For the version of O365 and Windows Azure AD PowerShell you need Sign-In assistant 7.1 and above. This is available under the name “Microsoft Online Services Sign-In Assistant for IT Professionals BETA” and you can download from the following link http://www.microsoft.com/en-us/download/details.aspx?id=39267.
Download the one relevant for your operating system (32 bit OR 64 bit).
Windows Azure Active Directory PowerShell Module
You can download the version relevant for your operating system from the following link http://technet.microsoft.com/en-us/library/jj151815.aspx#bkmk_installmodule
Once you have the above components installed, you are ready for fun bit!
Connecting to Office 365
-
Open PowerShell command prompt and follow the instructions below to connect to Office 365.
-
Get Credentials
> $MSolCred = Get-Credential
This command will display a dialog box which will allow you to enter O365 credentials.
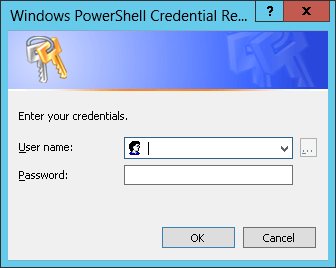
Notice that we are storing the credentials in a variable “$MSolCred“. This is needed for the next command.
-
Connect to Office 365
> Connect-MsolService -Credential $MSolCred
This command will use the credentials from the variable “$MSolCred” and establish a connection with Office 365.
Once the connection is established with Office 365, you can use other commandlets from Windows Azure AD PowerShell Module to perform other operations like managing users, security groups, licenses, SharePoint online, Exchange online, etc.
Putting it together as a function which could be called in from other scripts
Function Login-O365()
{
$MSolCred = Get-Credential
Connect-MsolService -Credential $MSolCred
}

Leave a comment